Adding Image to Page in Salon Vision
How to add an image to a Custom Page in Salon Vision
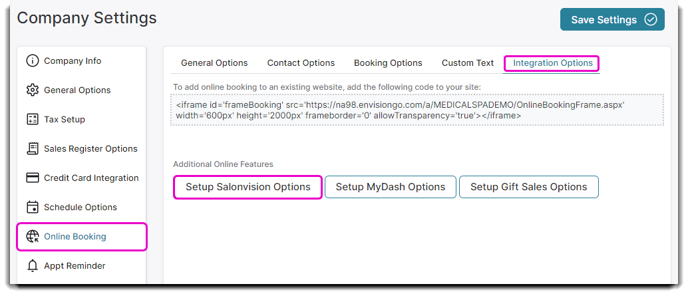
To get to your SalonVision settings you must go to your Company Settings.
From there click on:
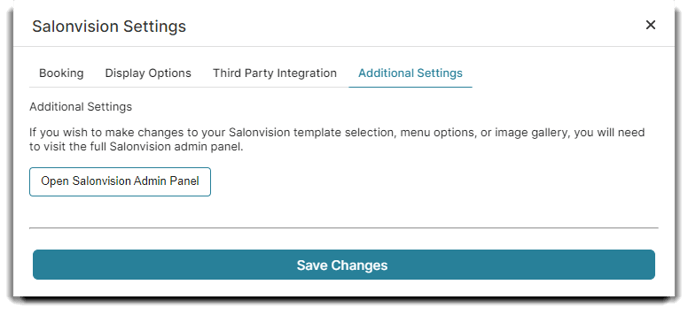
Online Booking > Setup Salonvision Options > Additional Settings > Open Salonvision Admin Panel
Navigate to the Photo Gallery. Click Select, select the image you wish to upload, and then select Upload Image.
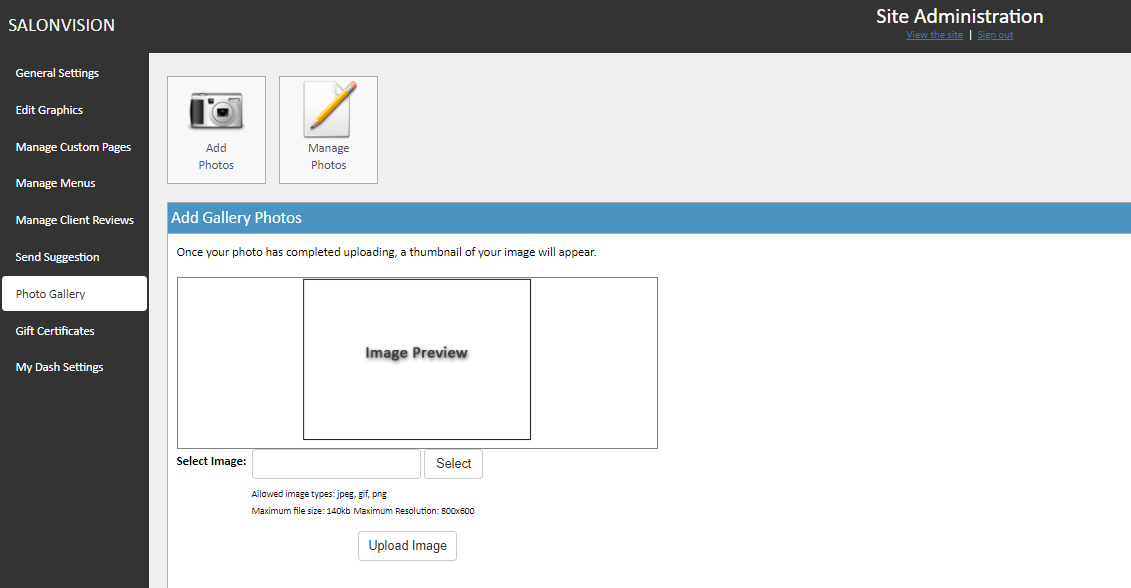
2. Once its uploaded, select Manage Photos.
3. Right-click on the photo, select "Copy image address" from the dropdown.

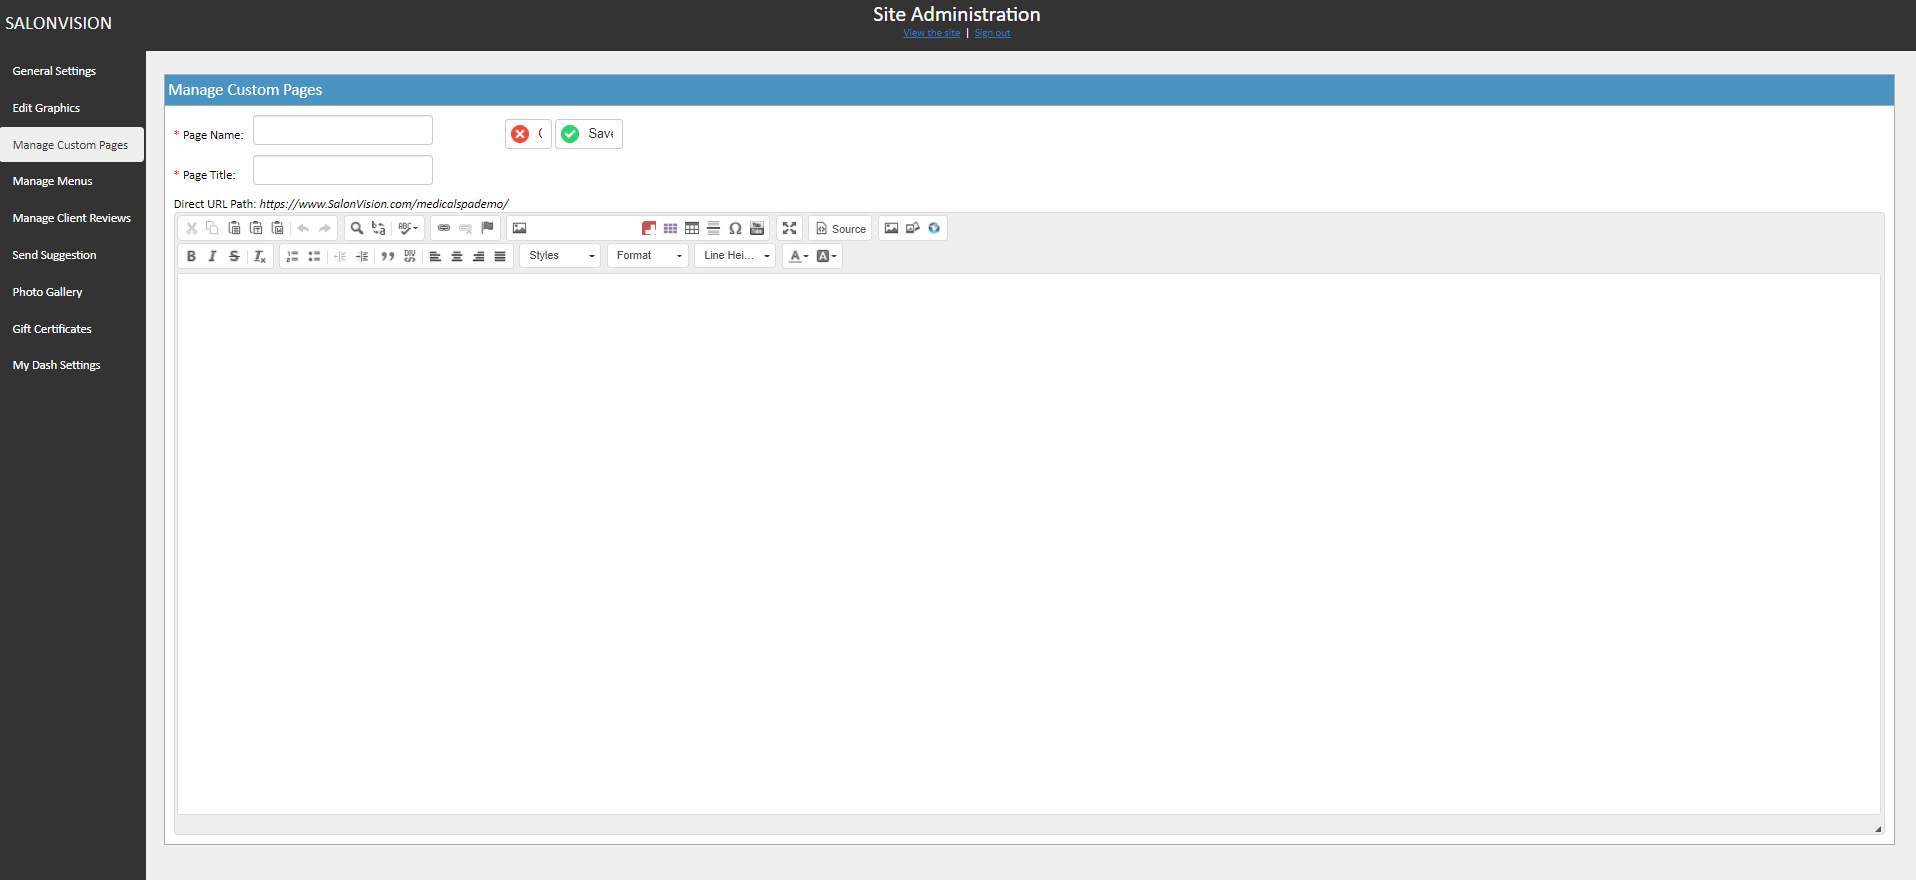
4. Click Manage Custom Pages and select the page you want the image to appear on.
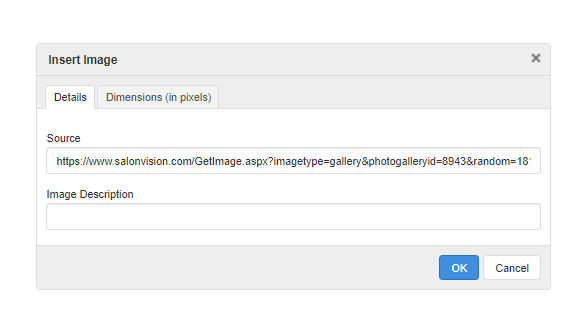
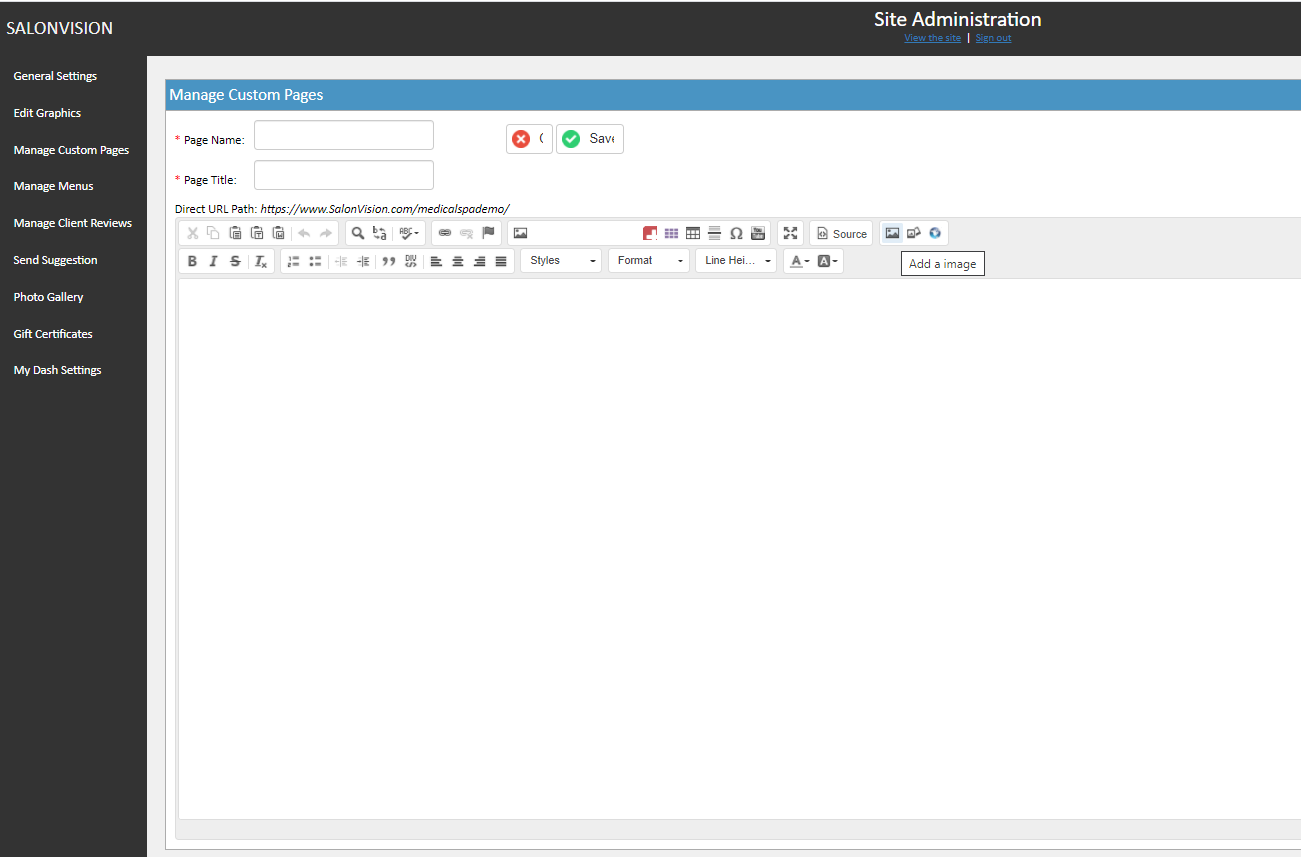
5. Click on the Add a image button.
6. Paste the link address in the Source URL field, hit OK, and then hit Save!