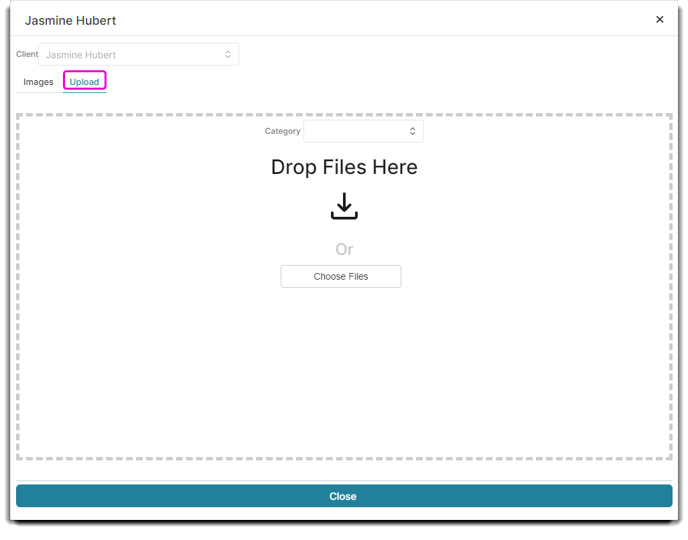
How to categorize, upload, view, and remove client images
One of our key features is the ability to upload, store, organize, and view before and after photos of your Clients. While every edition can access and upload Client Images, the way you view them through your desktop may be different.
Please note: You must link a DropBox or Google Drive account to account with us through Company Settings in order to use this feature.
No matter which edition you have, you can easily view and upload your Client Images by double clicking any name on your Client List located in the Clients tab of the main dropdown menu.
Clients > Client List > [Specific Client] > Edit Selected Client > Demographics > Client Images
The popup screen will have a button on the right-hand side titled Client Images.
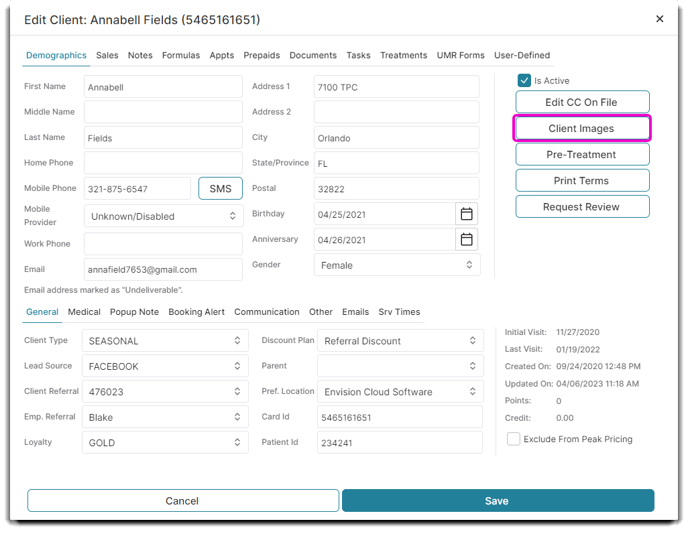
Clicking Client Images will allow you to categorize, upload, view, and remove the photos for your specified Client.
Ultimate Users
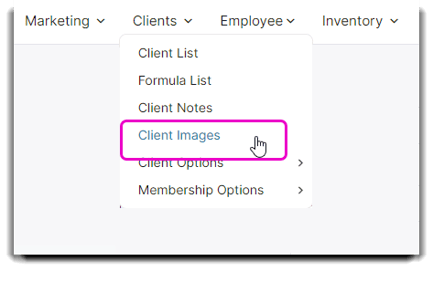
With a single click, we have made Client Images easier than ever! Integrated in your menu, simply hover over the Clients tab in the top main dropdown and you will see the Client Images option.
Please note: in order to see this option in the Clients main dropdown menu, you must link a DropBox or Google Drive account to your account with us through company settings.
Here is an example of how the images will appear when selected from the Client page. 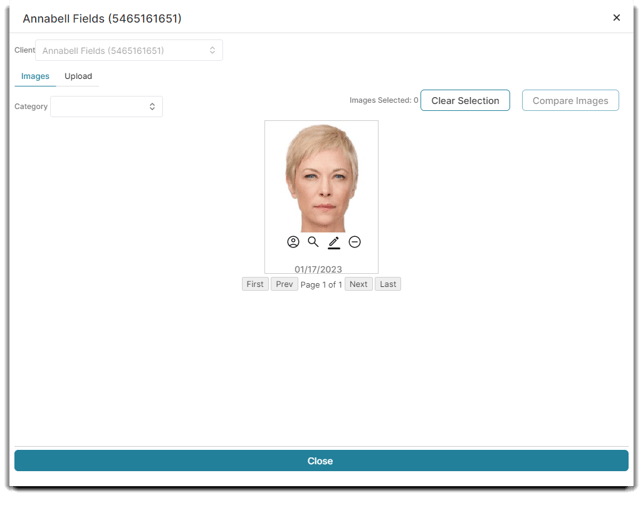
Click on the Client dropdown to choose the Client you would like to upload photos for. When you are finished, click Close.
PatientNow Essentials Medspa Software
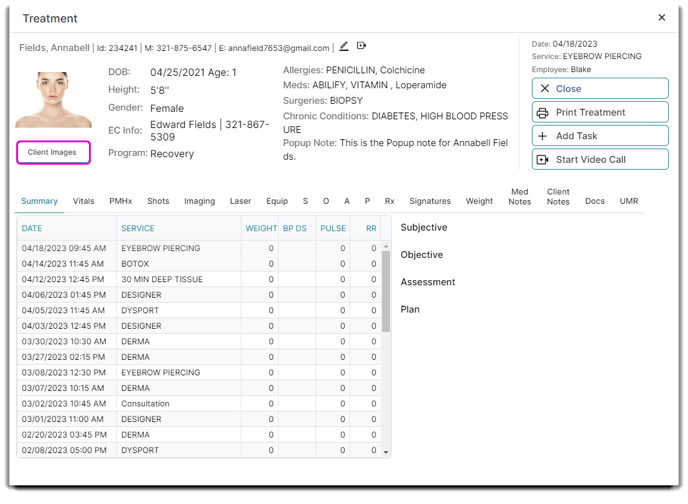
You can also view your client images through the Treatment List.
To access, double click on any Client from your Treatment List located in the Medical tab from the main dropdown menu.
The Client Images button will appear underneath your Client's image icon, as seen in the example below for Jessie Brown.

