
Learn about the different kinds of dynamic client lists Envision offers, how to create your own, and how to use them in your marketing campaigns
Use our dynamic client lists to your advantage and target specific clients with information they'll love! Our dynamic client lists allow you to choose which clients to reach via email marketing.
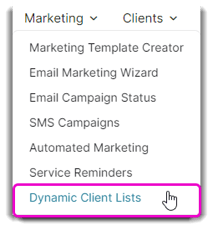
To create lists, hover over Marketing in the tool bar and select Dynamic Client Lists from the drop-down menu.
Marketing > Dynamic Client Lists
Select to Add a New List.
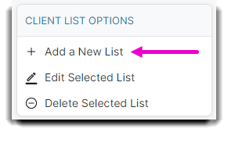
When you click to Add a New List, the Options Menu will appear on the left-hand side:
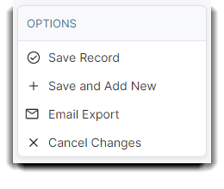
Save Record will save all changes you've made to a dynamic list.
Save and Add New will save your current lists and revert to a blank Edit Marking list screen so you can add a new one without having to go back to the dynamic client lists screen.
Email Export will download and format all Client email addresses onto a spreadsheet.
Cancel Changes will cancel the new list you created and take you back to the dynamic client list screen.
➡️ Client Options Tab
The Client Options tab will allow you to list clients by information stored in each client record. You can use one list or a combination of list options to return the results you want.
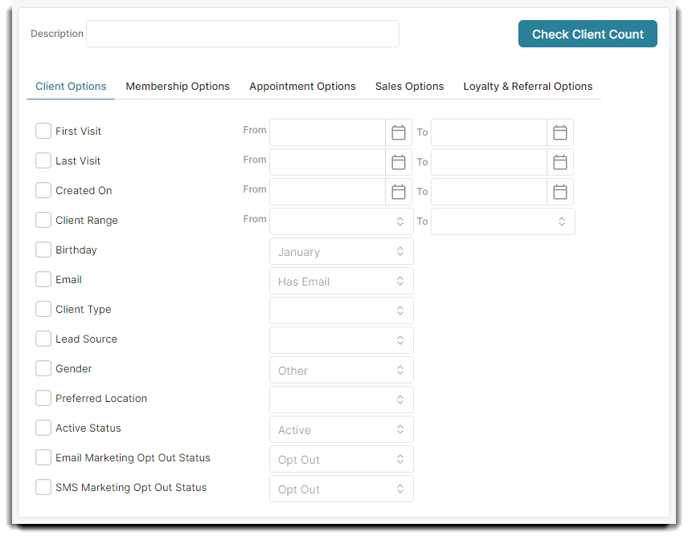
Description
Enter a name for the list you are creating in this field. It is best to enter a very specific description of the list so that when you choose to use this list again, it will be easy to determine which clients the list is capturing.
Check Client Count button
Clicking this button will display the number of clients who match the list created. This number may not be the same as the number of emails sent in a marketing campaign, as the campaign will remove any clients without an email address.
First Visit Date list
The First Visit Date list will allow you to list clients by the date of their first sale in Envision. This list can be used to find new clients. Check the First Visit checkbox and select a date range to the right of this list option.
Last Visit Date list
The Last Visit Date list will allow you to list clients by the date of their last sale in Envision. The list can be used to find clients that have not visited the business in a while. Check the Last Visit checkbox and select a date range to the right of this list option.
Birthday list
The Birthday list can be used to list clients by their Birthday. All clients that have a birthday in the month selected will be selected with this option. Check the Birthday checkbox and select a month from the drop-down menu to the right.
Email list
The Email Options can be used to list clients that do not have an email address if you select the No Email option or the Has Email option can be used to get a count of the clients with an email address.
The Email list may be used with the Email Export option to the left to export client emails for use with a 3rd party marketing service.
Client Range list
The Client Range list will list specific clients. You can choose if you want to pick only a few clients to send an email campaign to. This can be helpful for your best clients like repeat customers.
Client Type list
The Client Type list will list clients based on the client types that you have set in the software and applied to clients. Check the Client Type checkbox and select a Client Type from the drop-down menu to the right.
Lead Source list
The Lead Source list allows you to list clients by their Lead Source. The Lead Source is how the client heard of your business. This list can be used to target clients that learned about you through promotions, advertising, or even referrals. Check the Lead Source checkbox and select a Lead Source from the drop-down menu to the right.
Gender
Check the gender box and choose the gender of clients you wish to reach.
Preferred Location
Choose a business location to be able to only send to one location's clients.
Email Marketing Opt Out Status
The Email Marketing Opt Out Status list allows you to opt-in clients who have opted out of email marketing using the dropdown to the right. This list can be used to disseminate logistical information like a change of hours, location, etc. and ensure clients who've opted out of marketing emails do not miss out on important announcements from your business.
SMS Marketing Opt Out Status
The SMS Marketing Opt Out Status list allows you to opt-in clients who have opted out of SMS marketing using the dropdown to the right. This list can be used to disseminate logistical information like a change of hours, location, etc. and ensure clients who've opted out of marketing SMS messages do not miss out on important announcements from your business.
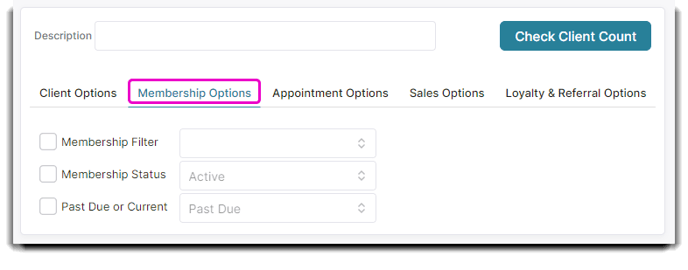
➡️ Membership Options Tab
Membership List Options are available in the Preferred & Ultimate editions of the Envision program. To upgrade, please contact our Sales Team at 800.231.9445 or sales@ennoview.com.
The Membership Options tab allows you to list clients based on the memberships they have purchased. You can use just one list or a combination of list options to return the results you want.
Description
Enter a name for the list you are creating in this field. It is best to enter a very specific description of the list so that when you choose to use this list again, it will be easy to determine which clients the list is capturing.
Check Client Count
Clicking this button will display the number of clients who match the list created. This number may not be the same as the number of emails sent in a marketing campaign, as the campaign will remove any clients without an email address.
Membership list
Check the box and select which membership program to list clients.
Membership Status
Check the box to list clients by the selection you make in the drop-down box. The options are:
- Active
- Cancelled / Deactivated
- Cancel On Date
- Frozen
- Frozen On Date
- Does Not Have Membership
Past Due or Current
Check the box to enable listing by the client's membership being current or past due.
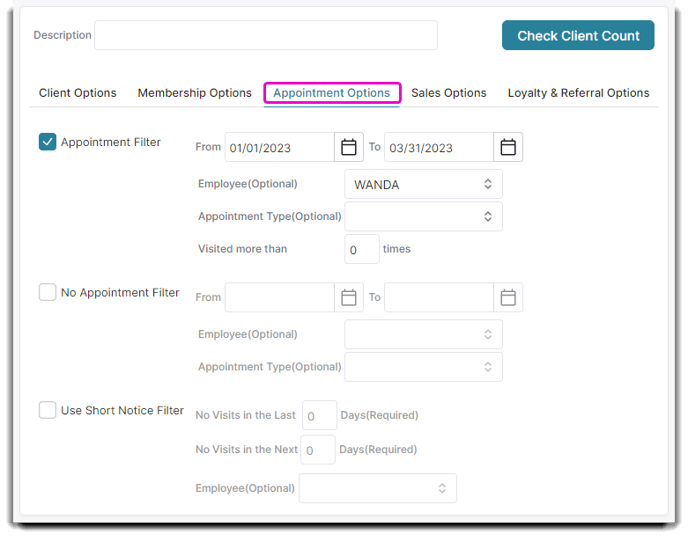
➡️ Appointment Options Tab
The Appointment Options tab will allow you to list clients by appointment activity. You can use just one list or a combination of list options to return the results you want.
Description
Enter a name for the list you are creating in this field. It is best to enter a very specific description of the list so that when you choose to use this list again, it will be easy to determine which clients the list is capturing.
Check Client Count
Clicking this button will display the number of clients who match the list created. This number may not be the same as the number of emails sent in a marketing campaign, as the campaign will remove any clients without an email address.
Appointment list
The Appointment list allows you to select clients if they have had an appointment between a specific date range or with a specific employee. You can select only a specific date range, only an Employee or both.
If you are trying to list clients that have had an appointment within a specific date range AND with a specific employee, use the date range selection and the employee selection together. Check the Appointment List checkbox and select either the From and To dates, the Employee, or both.
No Appointment list
The No Appointment list allows you to list clients if they have not had an appointment between a specific date range or with a specific employee. You can select only a specific date range, only an Employee, or both.
If you are trying to list clients who have not had an appointment within a specific date range AND with a specific employee, use the date range selection and the employee selection together. Check the No Appointment List checkbox and select either the From and To dates, the Employee, or both.
The Short Notice list is available in the Preferred & Ultimate editions of the Envision program. To upgrade, please contact our Sales Team at 800.231.9445 or sales@ennoview.com.
Use Short Notice list
The Short Notice list allows you to list clients who have not had an appointment in the past, nor have an upcoming appointment in the number of days that you designate. You may optionally select an employee that the client has not (and will not) have an appointment scheduled for.
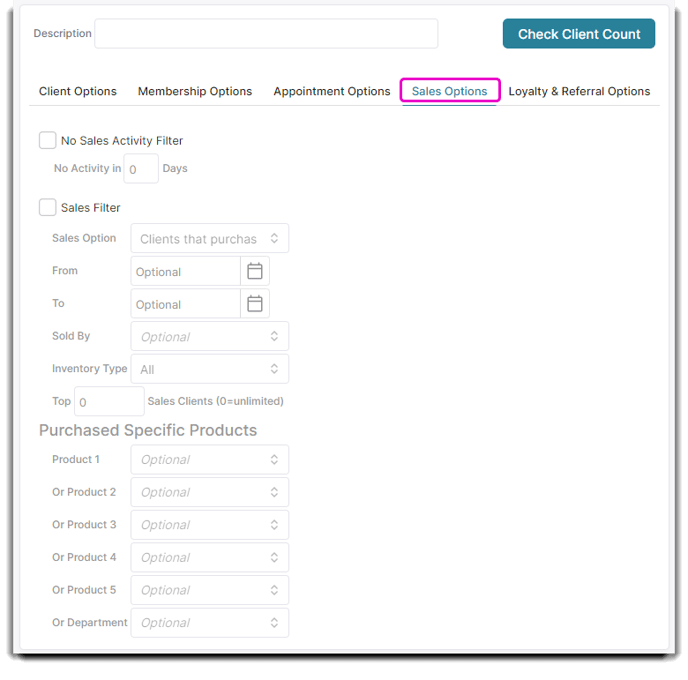
➡️ Sales Options Tab
The Sales Options tab will allow you to list clients by sales activity. You can use just one list or a combination of list options to return the results you want.
Description
Enter a name for the list you are creating in this field. It is best to enter a very specific description of the list so that when you choose to use this list again, it will be easy to determine which clients the list is capturing.
Check Client Count
Clicking this button will display the number of clients who match the list created. This number may not be the same as the number of emails sent in a marketing campaign, as the campaign will remove any clients without an email address.
No Sales Activity list
Click this box to return clients who did not purchase in a number of days. The number of days is set in the field below.
Sales list
Check this box to capture clients who meet the sales criteria entered below.
Sales Option
Choose here if you wish to reach clients who did purchase or clients who did not purchase.
From / To
Enter a date range to narrow when clients did or did not purchase. Not selecting a date range will return the clients who match the criteria for all time.
Sold By
Select the employee ID who made the sale (or performed the service). This is optional. Leaving this field blank will return sales (or performance) by all employees.
Inventory Type
Choose from this drop-down to narrow the sales results.
Top # Sales Clients
Enter a number here if you want to only return this number of clients with the highest sales. This can be used with other selections.
Purchased Specific Products
Select items from the drop-down box to only return clients who did (or did not) purchase this item. You may add additional items in each box below.
Purchased Specific - Department
Choose an inventory department from the drop-down selection box to capture clients who did (or did not) purchase from that department.
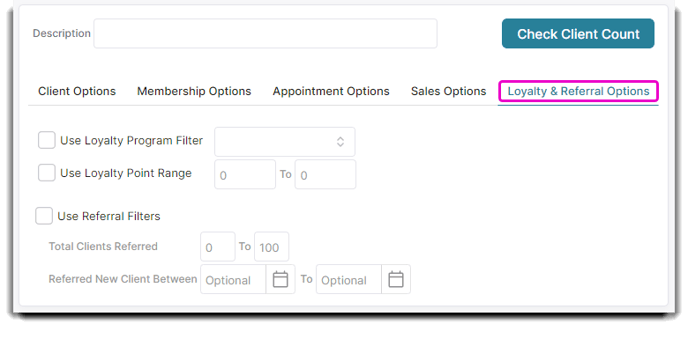
➡️ Loyalty Options Tab
Loyalty & Referral list Options are available in the Preferred & Ultimate editions of the Envision program. To upgrade, please contact our Sales Team at 800.231.9445 or sales@ennoview.com.
The loyalty and referral options tab will allow you to list clients based on the loyalty plan assigned, the number of loyalty points the client has or referrals made. You can use just one list or a combination of list options to return the results you want.
Description
Enter a name for the list you are creating in this field. It is best to enter a very specific description of the list so that when you choose to use this list again, it will be easy to determine which clients the list is capturing.
Check Client Count
Clicking this button will display the number of clients who match the list created. This number may not be the same as the number of emails sent in a marketing campaign, as the campaign will remove any clients without an email address.
Use Loyalty Program list
Select this box to enable listing the client based on a loyalty program. Select the loyalty program from the drop-down selection box to the right.
Use Loyalty Point Range
Select this box to list clients based on the number of loyalty points that they have. Enter the numbers in the boxes to the right.
Use Referral lists
Select this box to enable listing clients based on one or both of the referral list selections below.
Total Clients Referred Range
list clients by entering a beginning and ending number of referrals that have been made. This may or may not be used with the date range below.
Referred New Client Between Dates
Enter a date range for a referral to have been made. This option only works with the numbers entered in the Total Clients Referred fields.