
How to create an email marketing campaign and how to view your campaign statistics
To create Email Marketing Campaigns, hover over Marketing on the Tool Bar of Envision, and select Email Marketing Wizard from the drop-down menu.
Marketing > Email Marketing Wizard
Create a Campaign
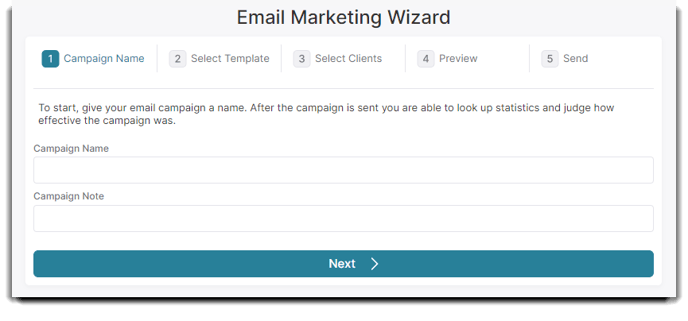
Step 1: Name your campaign
When adding a new campaign, you will be taken to the first step. Give your campaign an easily identifiable name as you may want to use this campaign to send a duplicate in the future. Once entered, select the NEXT button in the lower right to move to the next step.
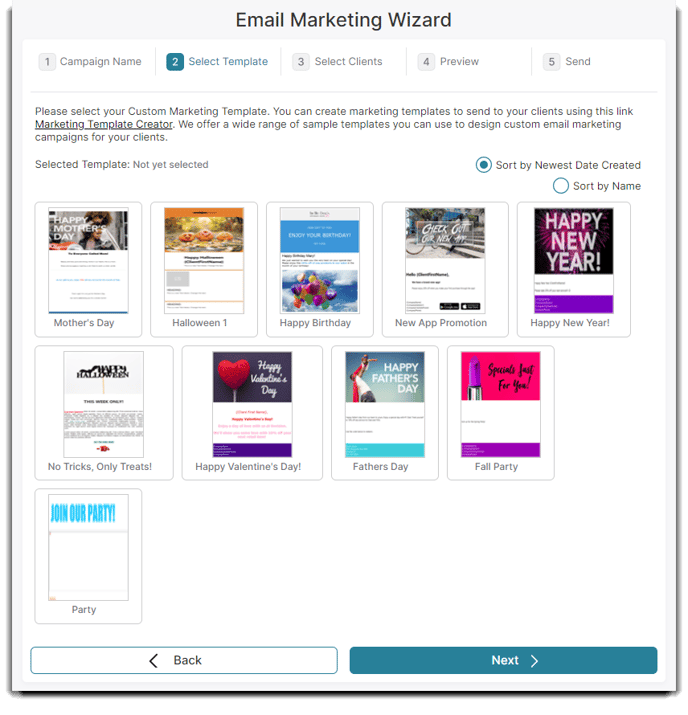
Step 2: Select a Template
Select a template from the previews that you wish to use. The templates you have previously created in the Marketing Template Creator tab can be chosen from this section. After choosing, click the NEXT button in the lower right to move to the next step.
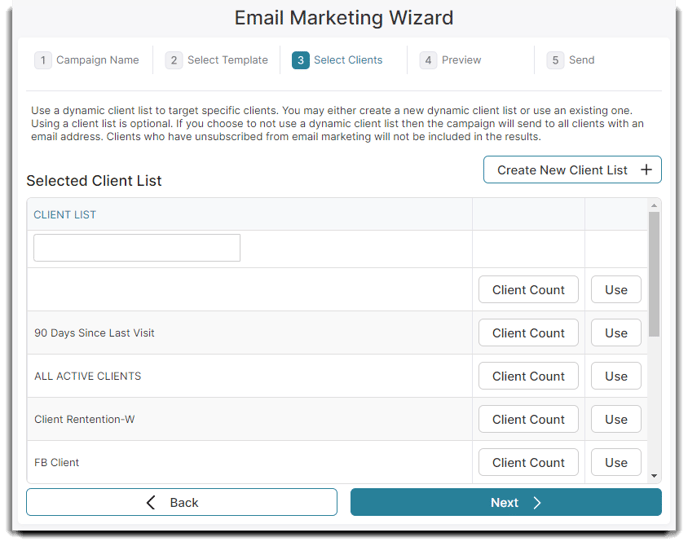
Step 3: Create a Client Filter
This is to identify which clients you wish to target for this campaign. You can create a filter in this step or select a filter previously made to be applied. The Client Count button will display the number of clients that meet your filter selections. If the fields are left blank, all clients with an email address will be targeted. Select the NEXT button in the lower right to move to the next step.
You can only select one filter to use per campaign.
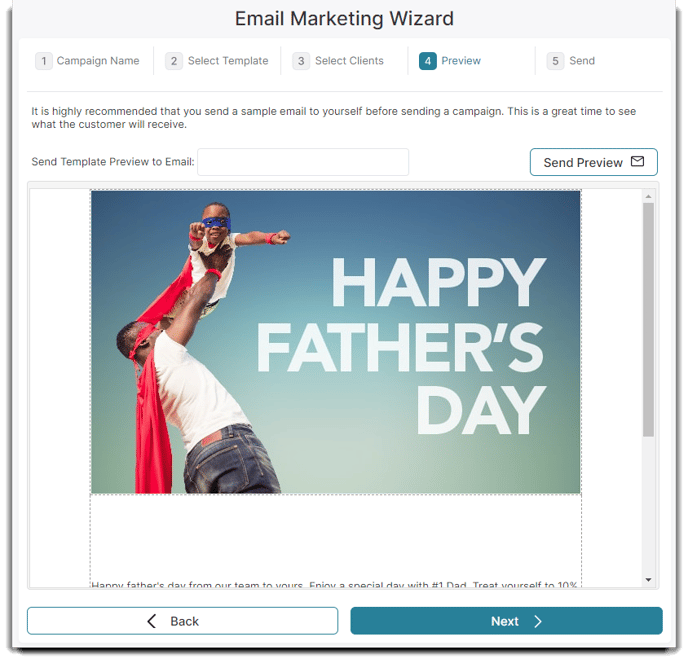
Step 4: Preview
The next screen will show you a preview of the email, so you can adjust or change anything you'd like before you send it out. A preview of the text within the selected template will be displayed. Take time to check the text and placement. You can also send a preview of the email by sending it to yourself in the Send Template Preview to Email section. Enter your personal or work email and you'll be able to view the sample before sending it to your client list. Then, click the Send Preview button when you're ready and the NEXT button to proceed to the last step.
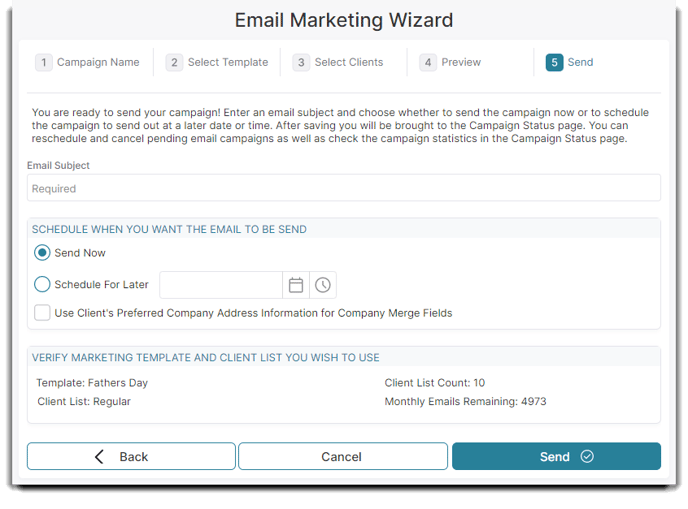
Step 5: Confirm and send your campaign
Enter an email subject line to be used for your campaign. You can schedule when you want the email to send either right now or schedule it for later. Click the calendar icon and clock icon to determine the date and time you want the campaign to send. The template, filter, and number of clients that will be emailed will be displayed. You can also see how many emails you have left on your account. The Send button will confirm and send your campaign to your clients.
Campaign Statistics
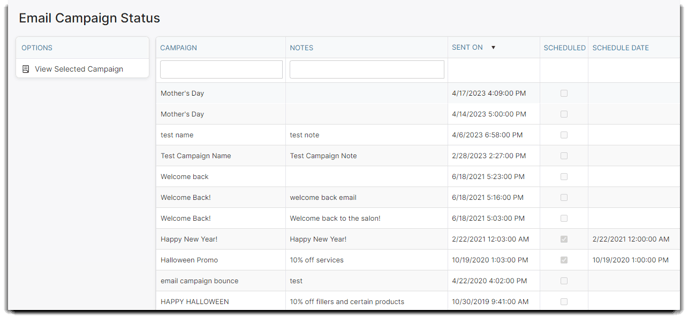
Under the Marketing tab, you'll see the Email Campaign Status. On this screen, you can view your previously sent email campaigns and pull statistics from each email sent. This is where you can see date the email was sent, whether or not it was a scheduled email, and your total conversion!
Once a campaign has been sent, you may view statistics about the campaign. The statistics are updated in real-time, so choosing to view these at a later time will show updated statistics.
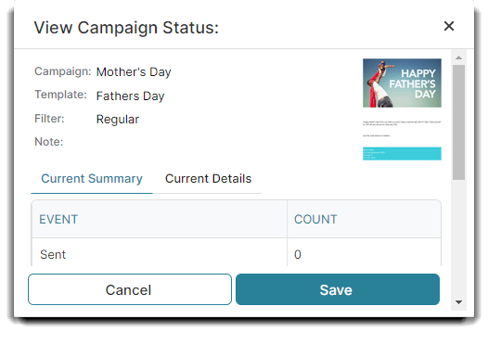
The View Selected Campaign option in the menu will show you the statistics from the email campaign.
You cannot resend any previous campaigns. You must create a new campaign to send another campaign, or you may duplicate an existing campaign by selecting it in the Select Template section of the Email Marketing Wizard.