Learn more about the Schedule Options Tab
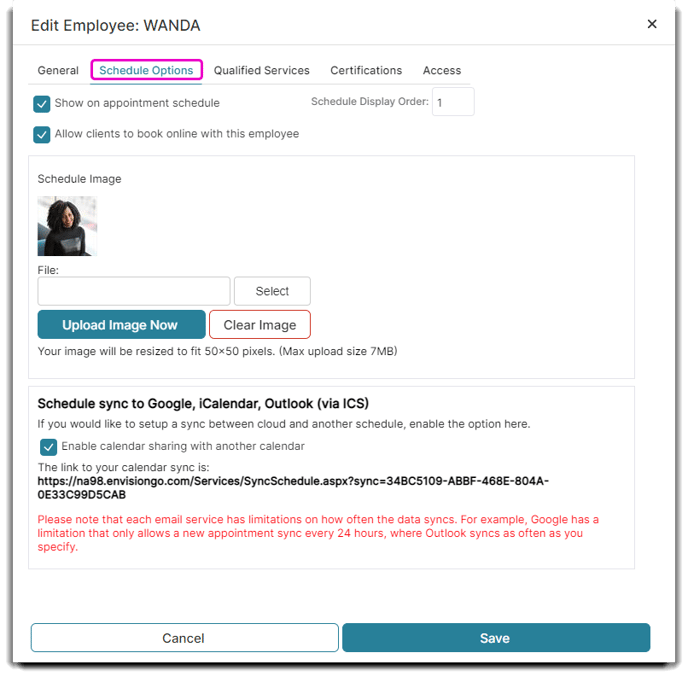
The Schedule Options tab allows you to manage your employees and how they will appear and which of their details will appear on the Appointment Calendar.
You can manage your employee's appearance on the schedule through this tab.
Employee > Employee List > [Specific Employee] > Edit Selected Employee > Schedule Options

Show on appointment schedule
Uncheck this box if this employee does not need to have a column in the calendar. For example, Front Desk staff normally does not have appointments scheduled under their name unless they are also a service provider.
Allow clients to book online with this employee
If checked and Online Booking is enabled, this option will allow clients to book appointments online with this employee.
Display Order
If you would like your employees to show up in specific columns in the Calendar or in a specific order, enter a display order number here. For example, if you enter a "1" into this field, the employee's column will be the first column on the left side of the calendar.

Everyone that has the ☑️Show On Appointment Book checkbox checked will need to have a number entered into the Schedule Display Order field for this to work properly.
Online Booking Image
Upload an image of the employee the clients will see during the Online Booking process.
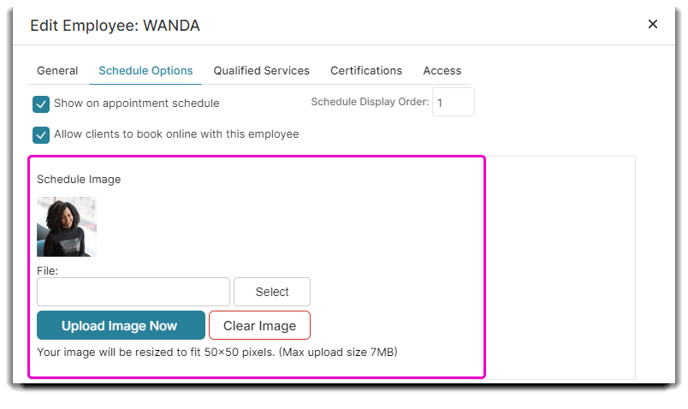
Schedule Image
Upload an image of the employee to display on the schedule/calendar.

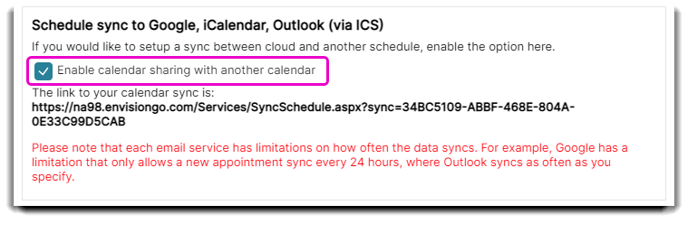
Schedule Sync
Schedule Sync allows users to share your calendar to other calendar programs such as (but not limited to) Google Calendar, iCalendar, Outlook, and the Calendar apps on iPhone / iPad. All the appointments made on the users calendar will be placed into the desired calendar program. When new appointments are created in Envision, they will also be synced to the calendar program automatically.

This is a one-way sync. Changes made on the employee's personal calendar do not appear in Envision.
