How to properly add Backbar Items in the Sales Register to track your inventory
Backbar items are additional retail products used to produce a Service. The product does not cost anything for your customer, but it does cost your business. It's important to properly input your Backbar items so your Inventory Reports reflect exactly what you're using and what you need to order.
You can create backbar items by indicating the Retail Item as Backbar in your Retail List. But in the event that you need to quickly add a Backbar item that isn't one regularly (like if an employee ran out of an item and took it from retail), or just want to approach Backbar items differently, you can edit the item information in the Sales Register.
How to Add a Backbar Item in the Sales Register
Open the Sales Register.
Add the Retail Item with the INHOUSE employee and select the mini yellow pencil from the icons to the right of the Line Item.
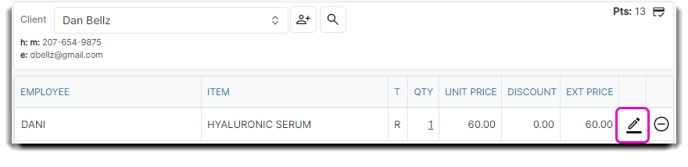
Using the INHOUSE employee for Backbar items will keep from changing or adding unnecessary numbers to an employee's revenue. If not, these services can get mixed with your Employees and skew your Report numbers.
When the Edit Line Item window appears, select the Is Backbar checkbox and then click Save.
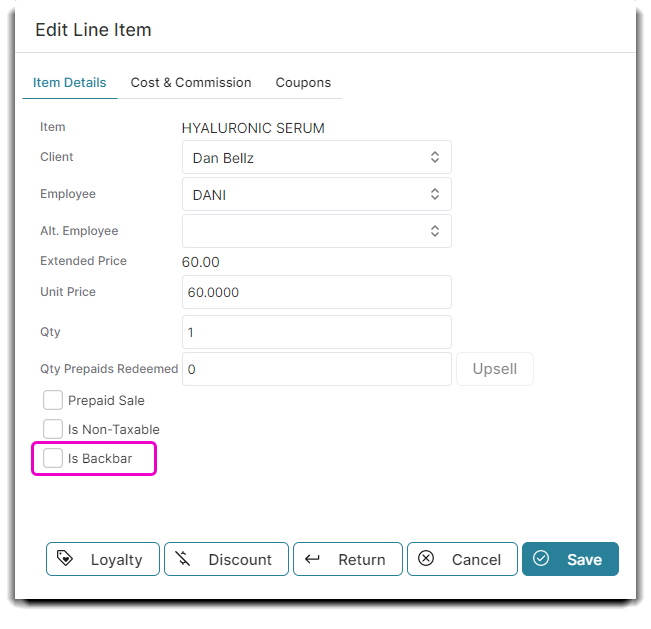
When you click the checkbox next to Is Backbar, it marks the item as a backbar item for reporting and accounting purposes. If there is a cost associated with this item it will need to he adjusted or discounted to display accurately. This can be done via the discount button or by changing the unit price to 0.
Click on Take Payment and fulfill the Sale.
The item edited in the POS will not be edited in the Retail List. Next time you use this item and you want to use it as Backbar, you will have to repeat these steps if you do not save it as a Backbar item in the Retail list.
How to Mark an Item as Backbar
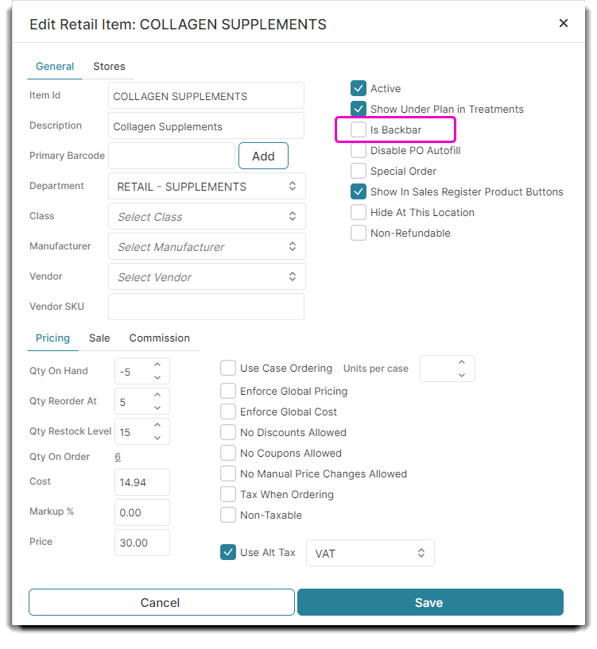
Go to the Retail List and select the retail item you want to edit and turn into a backbar item.
Inventory > Retail List > [Specific Retail Item] > Edit Selected Product