How to setup work schedules
The Employee Work Schedule is where you will set the hours that each employee is available for booking in the Appointment Calendar.
Employees > Work Schedule
To enter the Employee Work Schedule screen,
- Hover over Employees on the menu bar and
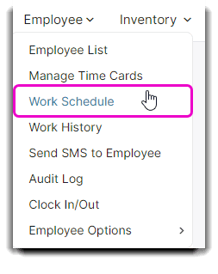
- Select Work Schedule from the drop-down.
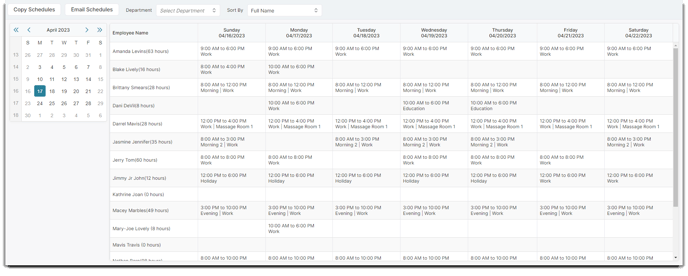
Closer detail of work schedule
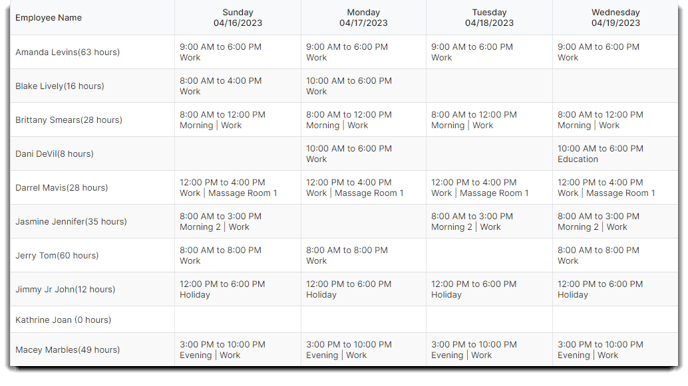
Edit Record Popup
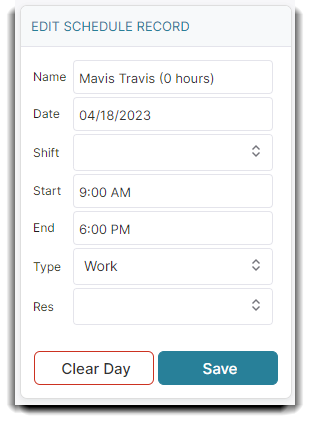
- Click on cell (day) to the right of the employee's name you are entering hours for. This will open the Edit Schedule window to the lower left of the screen.
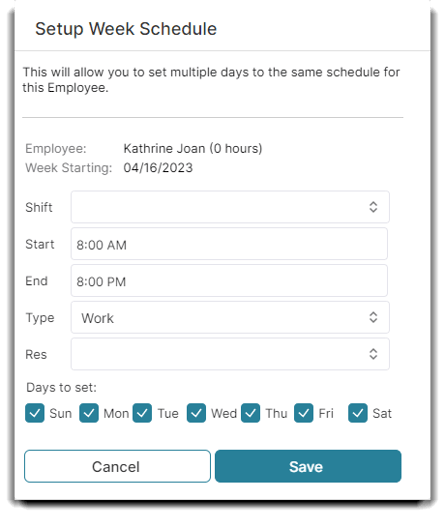
- Alternatively, you can double-click over the employee's name. This will open a quick-entry screen, allowing you to enter the same hours for several days of the week.
- Choose the appropriate shift from the drop-down menu.
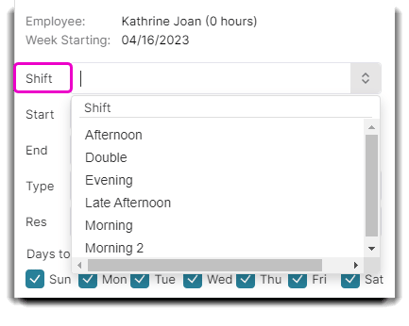
6. Enter the Start Time, End Time and Type in the Edit Schedule section.
7. Click the Save button when you have finished entering this information.
8. Choose the button in the upper left of the screen to copy the work schedule.
The following screen appears when you click the Copy Schedule button on the employee schedule screen. This screen allows you to copy a schedule you have created for one week to as many weeks as you wish.
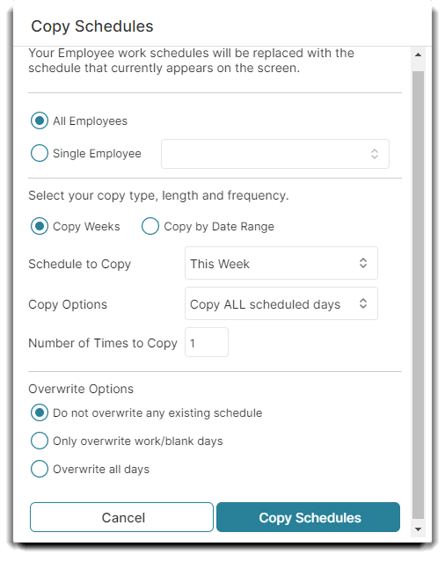
- Select either All Employees or Singles Employee. If you select Single Employee, you must select the employee from the drop-down list.
- Select the weeks you wish to copy forward. For example, if you choose to copy the Next 2 Weeks, this will copy this week's schedule and next week's schedule as entered forward, resulting in alternating week schedules.
- Enter the number of times you wish to copy forward the schedule.
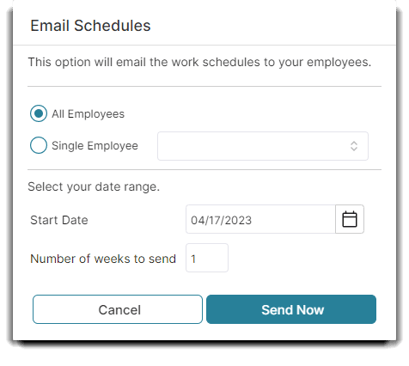
You also have the ability to email a work schedule for all employees or a single employee. Choose the date range and the number of weeks you went to send out. This can be helpful to give employees a printable/physical copy of the work schedule.
