How to use the walk in queue
The Walk In Queue allows you to add Walk-In clients to a list without needing to book an appointment in your Appointment Calendar.
Schedule > Walk in Queue
You will not need to add the walk-in client to Client List if you use the Queue.
Adding Clients to Walk In Queue
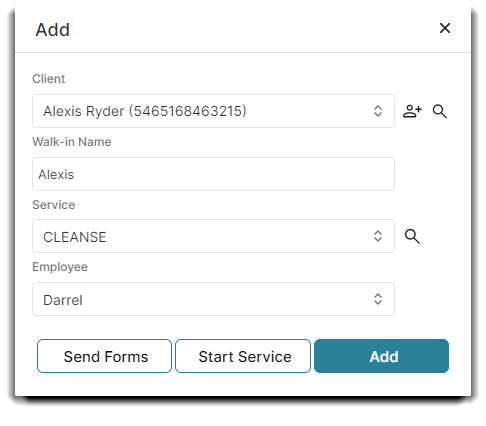
Select the Add button in the top right corner.
You will see a popup screen to input the client's information and appointment service with an employee. Enter the client information or queue name (if different), the requested service and the employee performing the service (can be left blank). Click Add.
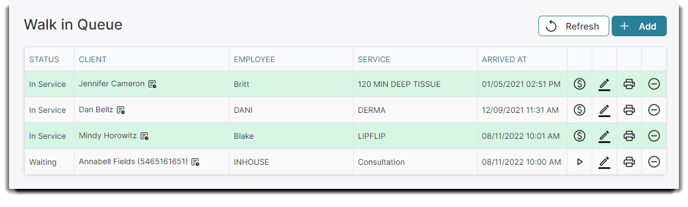
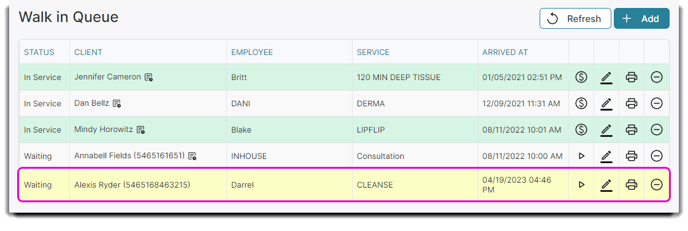
Once you add this new walk-in, it will go to the bottom of the queue, as shown below.
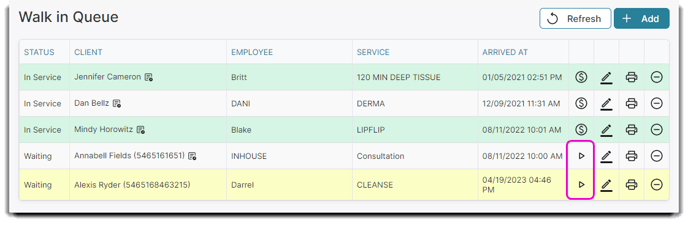
Starting a Service From The Walk In Queue
Once a client is listed on the queue, selecting the Begin arrow icon will open a screen allowing you to make any needed adjustments to the client information, the queue name (if different), the requested service, and the employee performing the service. You can also send your forms from this popup screen.
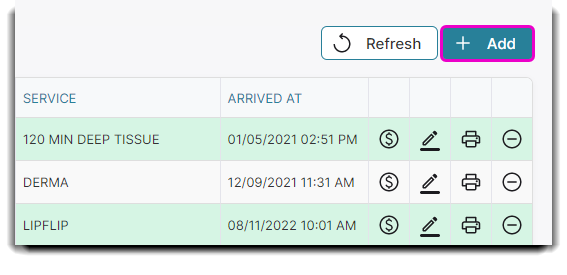
The printer icon can be used to print a Client Work Ticket.
Once a client has started service, their listing will change the appearance.
Checking Out From The Walk In Queue
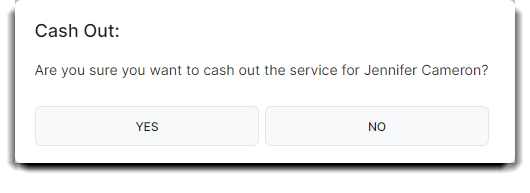
Once the walk-in client's service is complete, you can bring them to the Sales Register by selecting the dollar sign icon on this list.
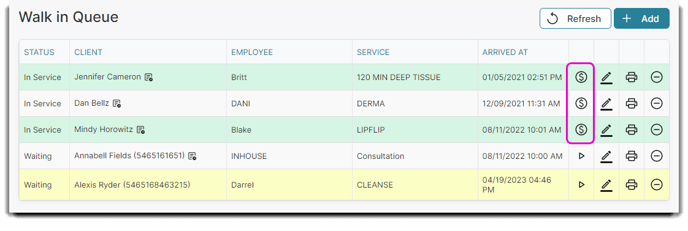
Once you select the dollar sign icon, you will see a popup confirming your start of cashing out a walk in client. You will be redirected to finish out the check-out progress on the Sales Register with the services booked and performed for your walk-in.