
How to use EnvisionNow's Mobile Pay feature
EnvisionNow Mobile Pay requires integrated payments. You can add payment processing by going to Manage Account > Signup for add on services > Integrated Credit Card Processing.
EnvisionNow Mobile Pay allows your clients to tip and check out entirely from their mobile device. When checking out, you can send an email, text message, or both with a link to their open ticket for Mobile Payment.
How to send Mobile Payment to a client:
After you create an appointment for the client and you are ready to check out right click the appointment and select.
This will lead you to the POS screen where you can select the Mobile Payment button once you are ready to send the client the payment.
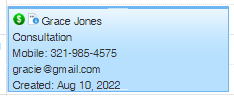
A prompt will appear with your client's email and phone number carried over from their client profile. You have an option to send an email, sms or both to the client to pay.

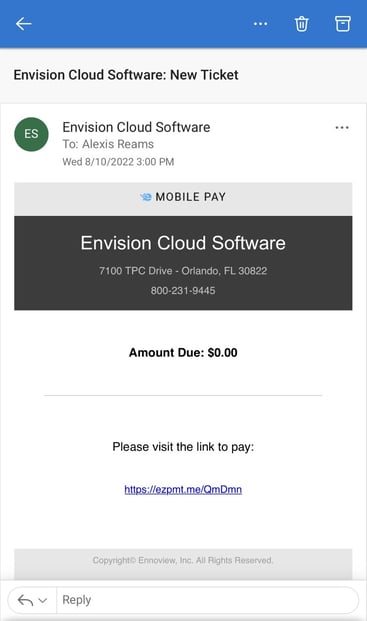
Example email:
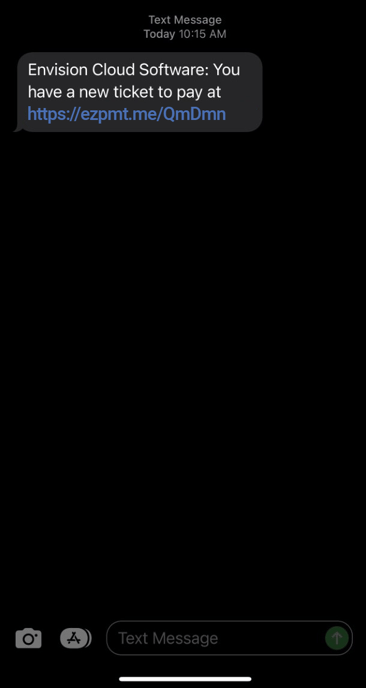
Example SMS:
The ticket will then be put on hold while waiting for the client's Mobile Payment to be complete.

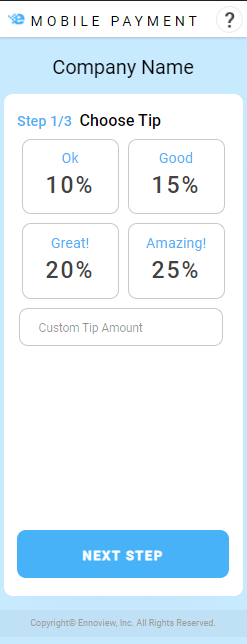
The link will lead them to the 3 step payment process:
STEP 1: Tipping options
Once the client has clicked on the link from the email or text message, they will be prompted to select a tip amount to add to their total. They will also see the total, service total, and retail total at the top.
STEP 2: Credit card info/ use or store cc info
After the tip has been selected the client can now see their total including the tip and will be asked to enter their credit card information.
If the client has a credit card on file a link will appear allowing them to prefill their credit card info they have on file. If the client does not have a credit card on file the option will not show and they will have an option to "save this card on file". If a client decides to save a card on file when they already have one, it will replace the existing card on file.

STEP 3: Payment Summary/ email confirmation
After the credit card information has been successfully inputted, the client will see the Payment Summary screen. This shows the total price, including service, retail, tax, service fee, and tip.
Example Payment Summary:
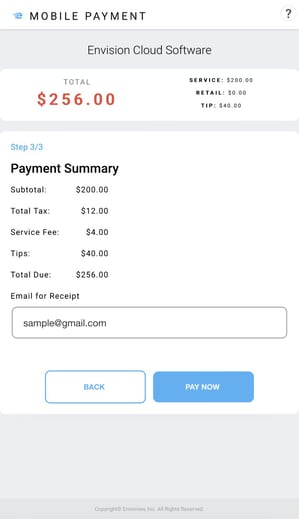
If "Tax Included in Price" is enabled in Company Settings, the tax will be automatically included in the service price.
If this option is disabled, it will read as displayed in the example above.
The client confirms their email for the receipt to be sent. When the client clicks Pay Now, the receipt will automatically be sent to the email entered.

When the Mobile Payment has been paid in full, the ![]() icon will appear on the appointment.
icon will appear on the appointment.
The ticket will then be moved from "On Hold" tickets to Ticket History.